Migration Path
Please follow this step-by-step guide to migrate Smart Courses data to Confluence Cloud. Reach out to our support team for more details: help@creativas.io.
Pre-requisites
- Update Smart Courses for Confluence - LMS to the latest versions, 9.7.0 is the minimum required version.
- Update the Confluence Cloud Migration Assistant to the latest version.
- if you moved contents between spaces, please follow these steps to prevent you from experiencing an incident related https://jira.atlassian.com/browse/CONFSERVER-77826
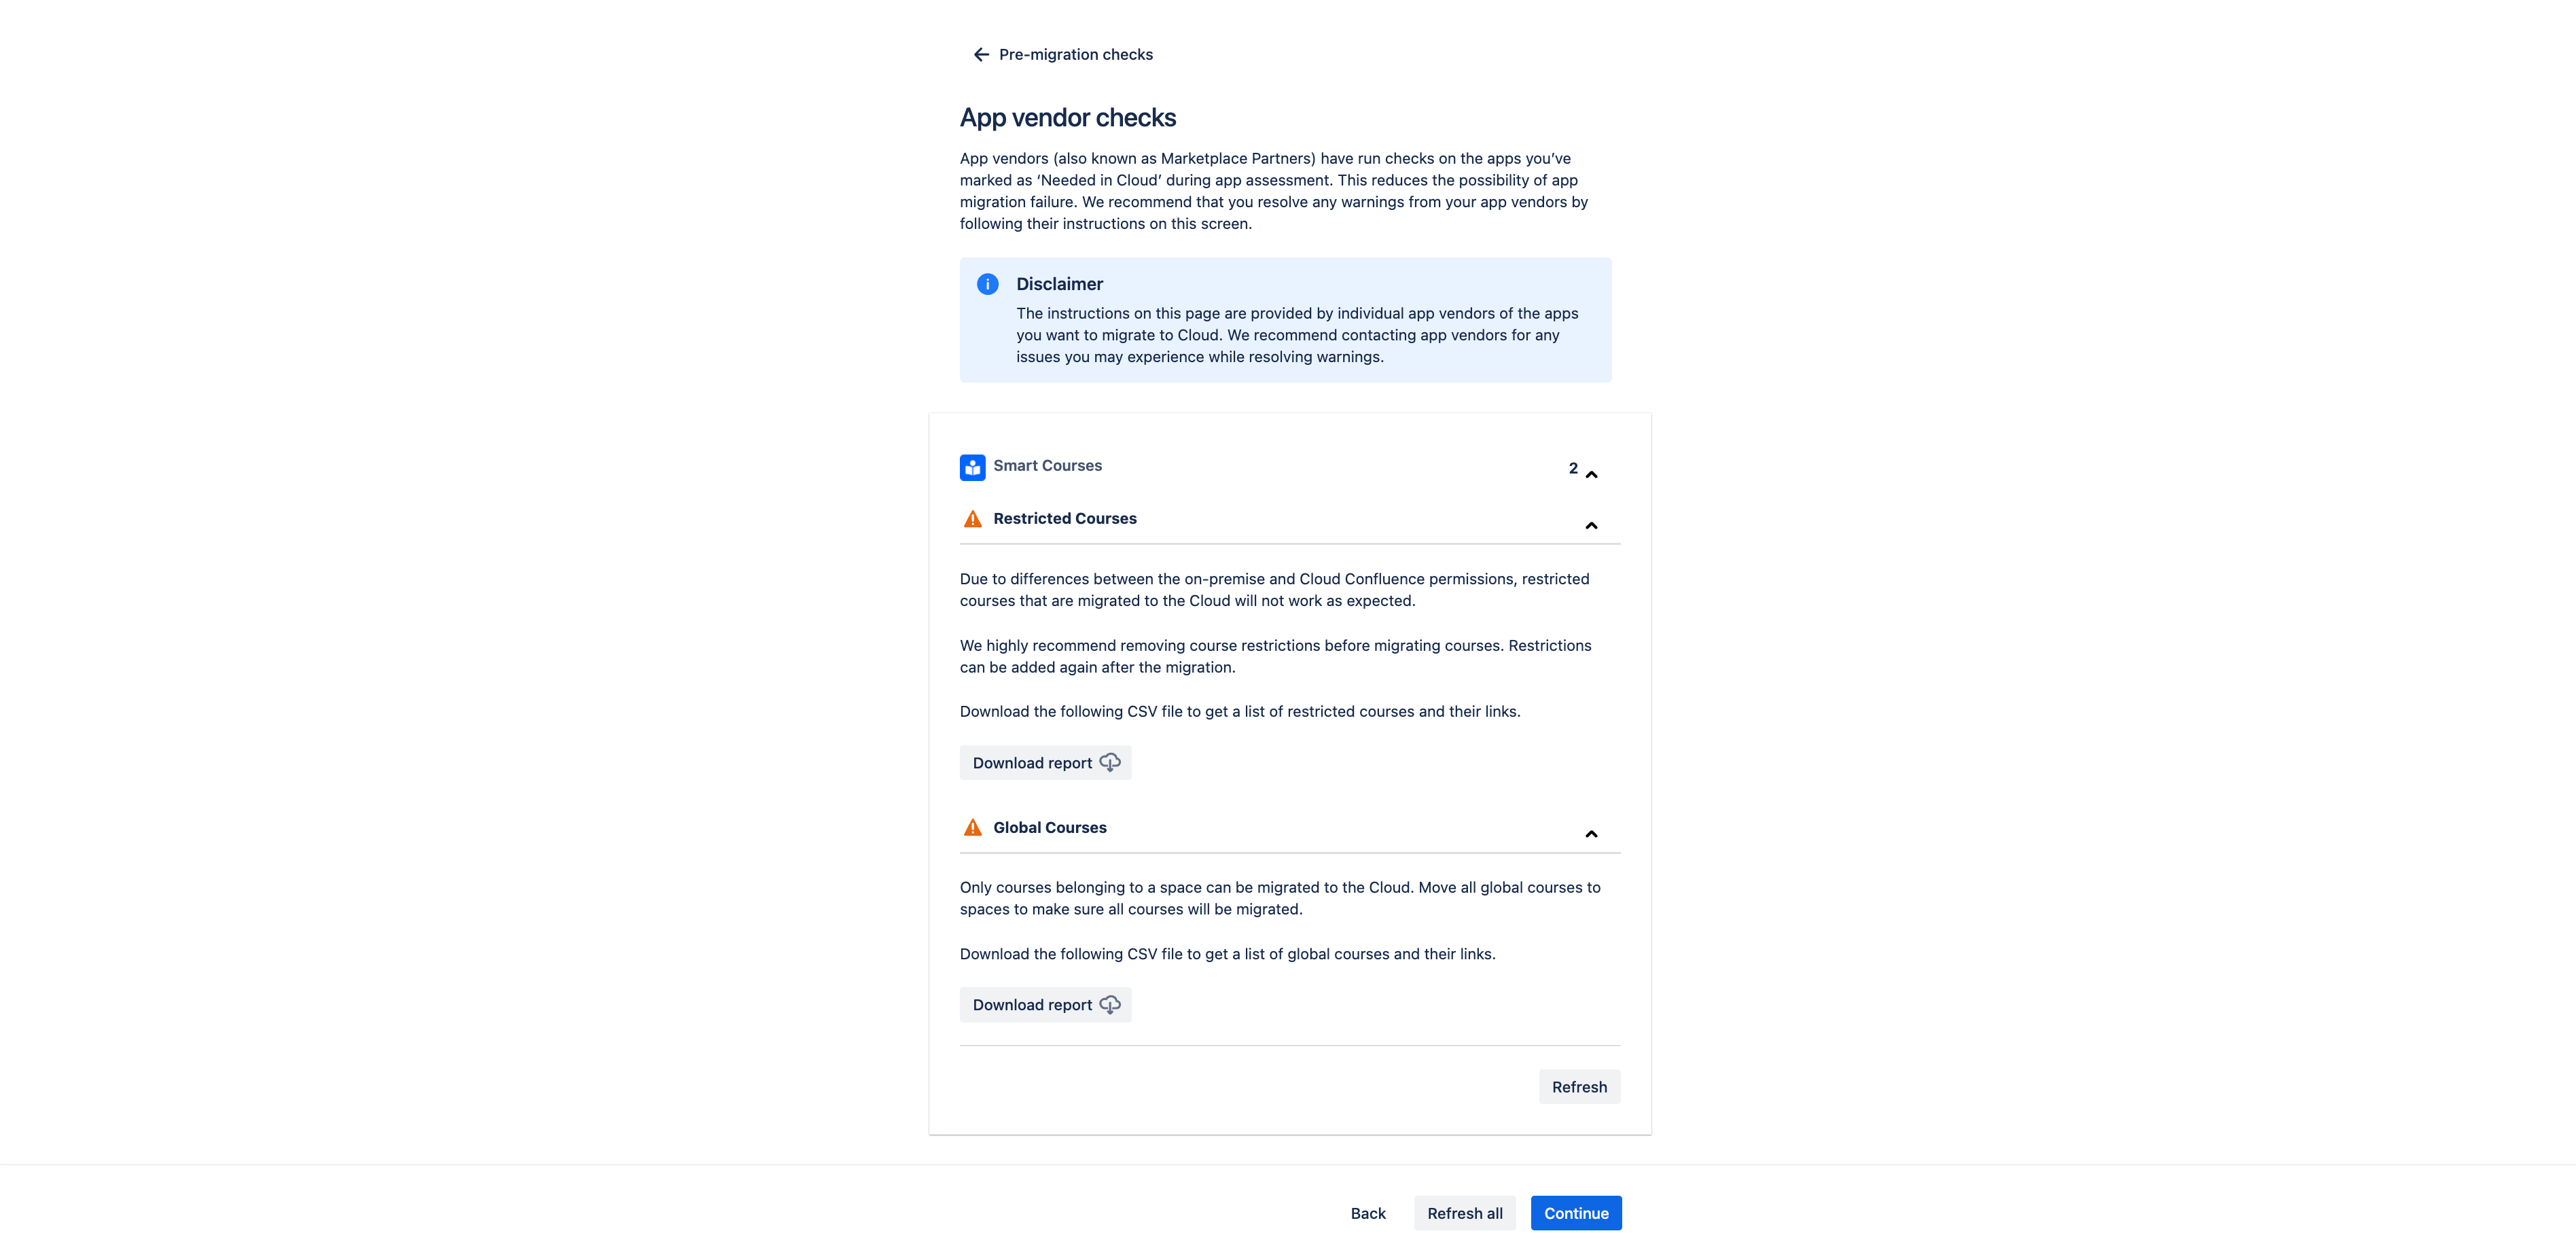
- Move all the global courses (not belonging to a space) to one or more spaces. To get a list of all global courses, please download the list from the migration vendor check or navigate to the global courses list in Confluence administration.
- Remove all view restrictions from restricted courses. To get a list of all restricted courses, please download the list from the migration vendor check or check out this FAQ for more details.
Remove possible duplicate entries, PLEASE BACKUP YOUR DATABASE BEFORE EXECUTING THE BELOW SQL CODE
DELETE from bodycontent dc
where dc.contentid IN
(select c.CONTENTID
from CONTENT c
INNER JOIN content d
ON (((c.PREVVER is not null AND d.PREVVER is not null) OR ((c.PREVVER is null AND d.PREVVER is null AND c.creationdate < d.creationdate)))   AND c.pageid = d.pageid)
WHERE (c.VERSION = 1  and d.version = 1)
AND (c.CONTENTTYPE = 'CUSTOM' AND c.TITLE = 'courseAuthors' AND c.pluginkey ='com.atlassian.confluence.plugins.confluence-content-property-storage:content-property')
AND (d.CONTENTTYPE = 'CUSTOM' AND d.TITLE = 'courseAuthors' AND d.pluginkey ='com.atlassian.confluence.plugins.confluence-content-property-storage:content-property')
);

DELETE from  contentproperties cp
where cp.contentid IN
(select c.CONTENTID
from CONTENT c
INNER JOIN content d
ON (((c.PREVVER is not null AND d.PREVVER is not null) OR ((c.PREVVER is null AND d.PREVVER is null AND c.creationdate < d.creationdate)))   AND c.pageid = d.pageid)
WHERE (c.VERSION = 1  and d.version = 1)
AND (c.CONTENTTYPE = 'CUSTOM' AND c.TITLE = 'courseAuthors' AND c.pluginkey ='com.atlassian.confluence.plugins.confluence-content-property-storage:content-property')
AND (d.CONTENTTYPE = 'CUSTOM' AND d.TITLE = 'courseAuthors' AND d.pluginkey ='com.atlassian.confluence.plugins.confluence-content-property-storage:content-property')
);


DELETE from content rc
where rc.contentid IN
(select c.CONTENTID
from CONTENT c
INNER JOIN content d
ON (((c.PREVVER is not null AND d.PREVVER is not null) OR ((c.PREVVER is null AND d.PREVVER is null AND c.creationdate < d.creationdate)))   AND c.pageid = d.pageid)
WHERE (c.VERSION = 1  and d.version = 1)
AND (c.CONTENTTYPE = 'CUSTOM' AND c.TITLE = 'courseAuthors' AND c.pluginkey ='com.atlassian.confluence.plugins.confluence-content-property-storage:content-property')
AND (d.CONTENTTYPE = 'CUSTOM' AND d.TITLE = 'courseAuthors' AND d.pluginkey ='com.atlassian.confluence.plugins.confluence-content-property-storage:content-property')
);

commit;
SQL
Important information
- The insights will be migrated along with the courses.
- The course administrators will be migrated, it is always possible to add new collaborators if needed.
- Scorm courses sessions will be migrated. You need to reupload the SCORM course content to Cloud.
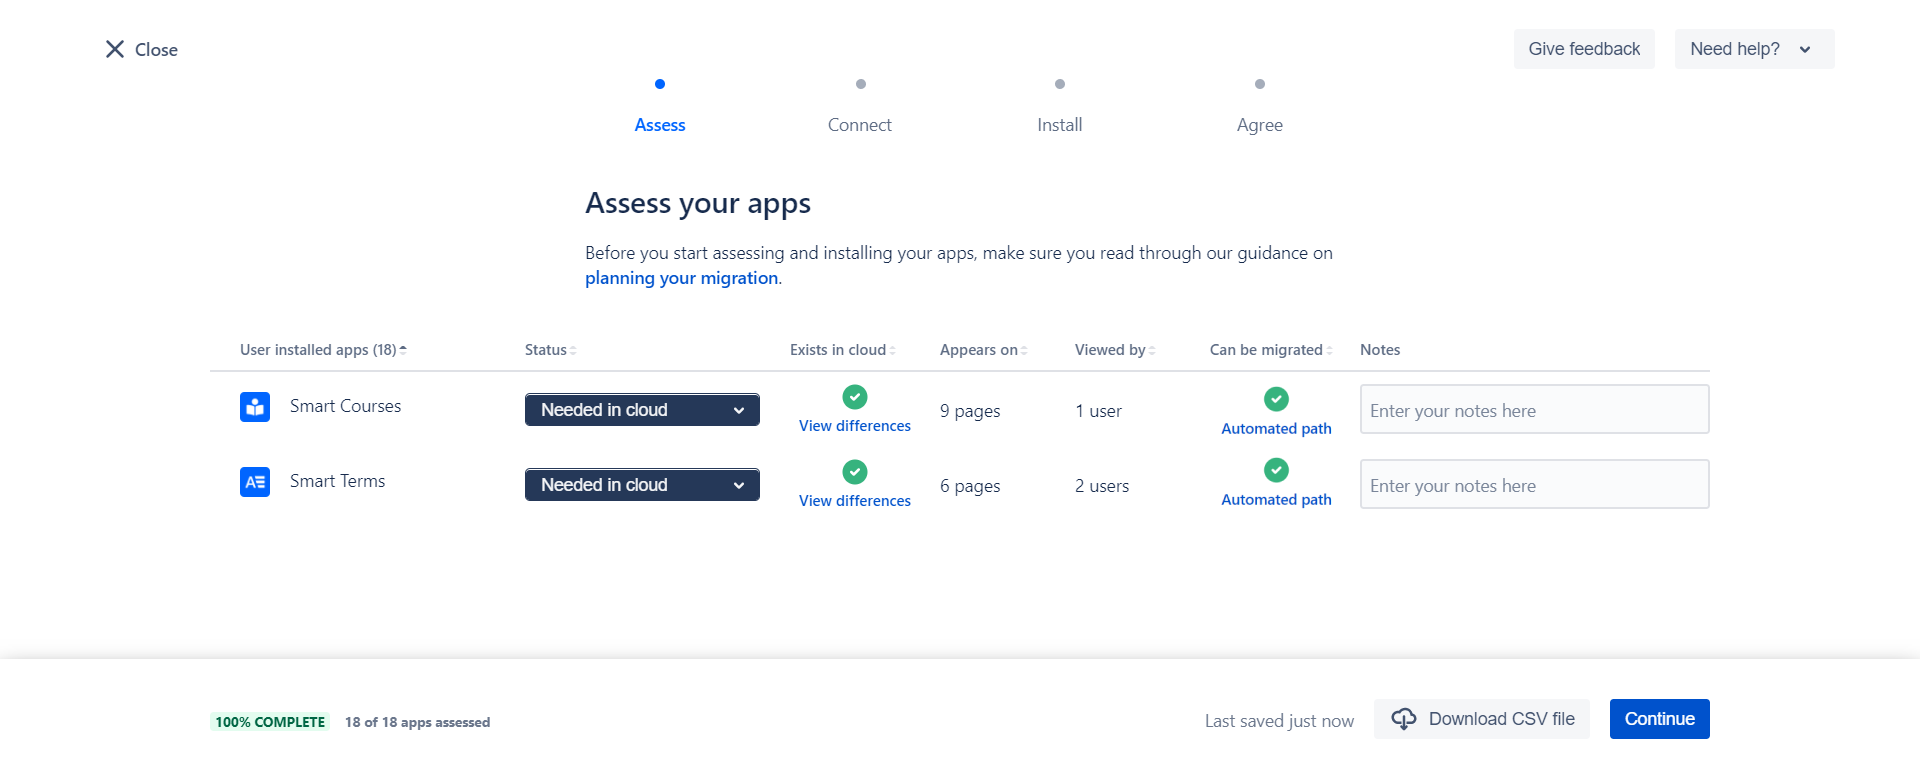
Assessing the app for Cloud migration
1. Navigate to Confluence Administration > Migration Assistant.
2. Click ASSESS AND INSTALL APPS.

3. Select Needed in cloud for the Smart Courses app. Choose the status for the rest of the apps.
4. Continue.
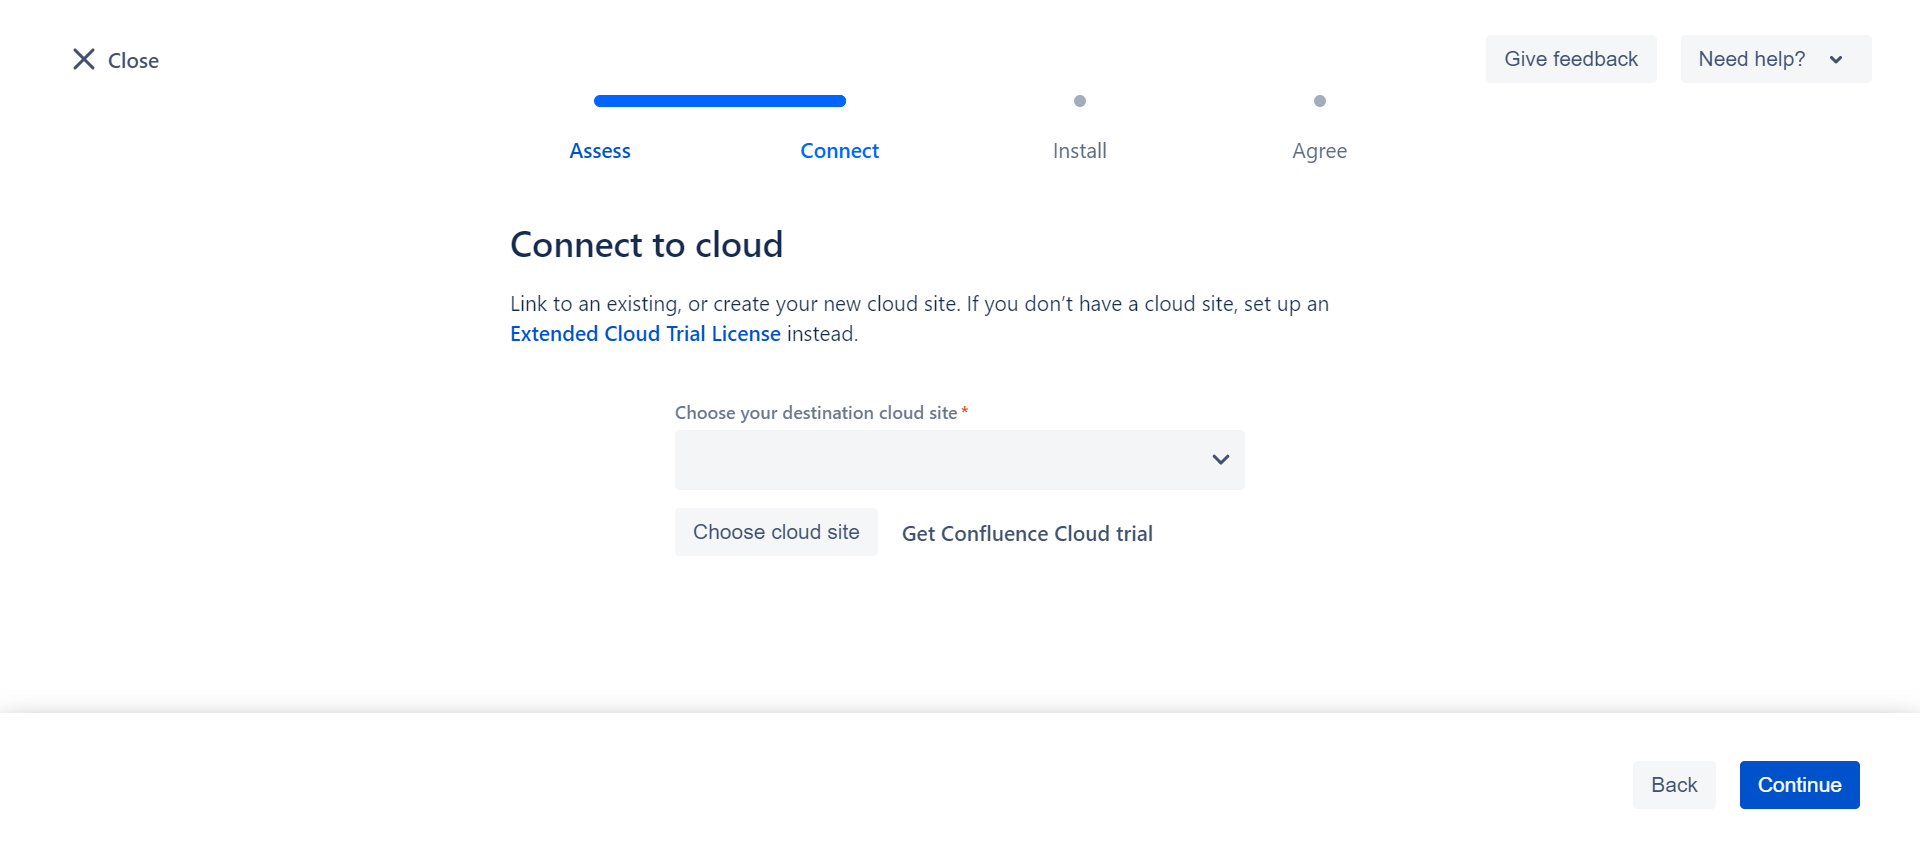
5. Click Choose cloud site.
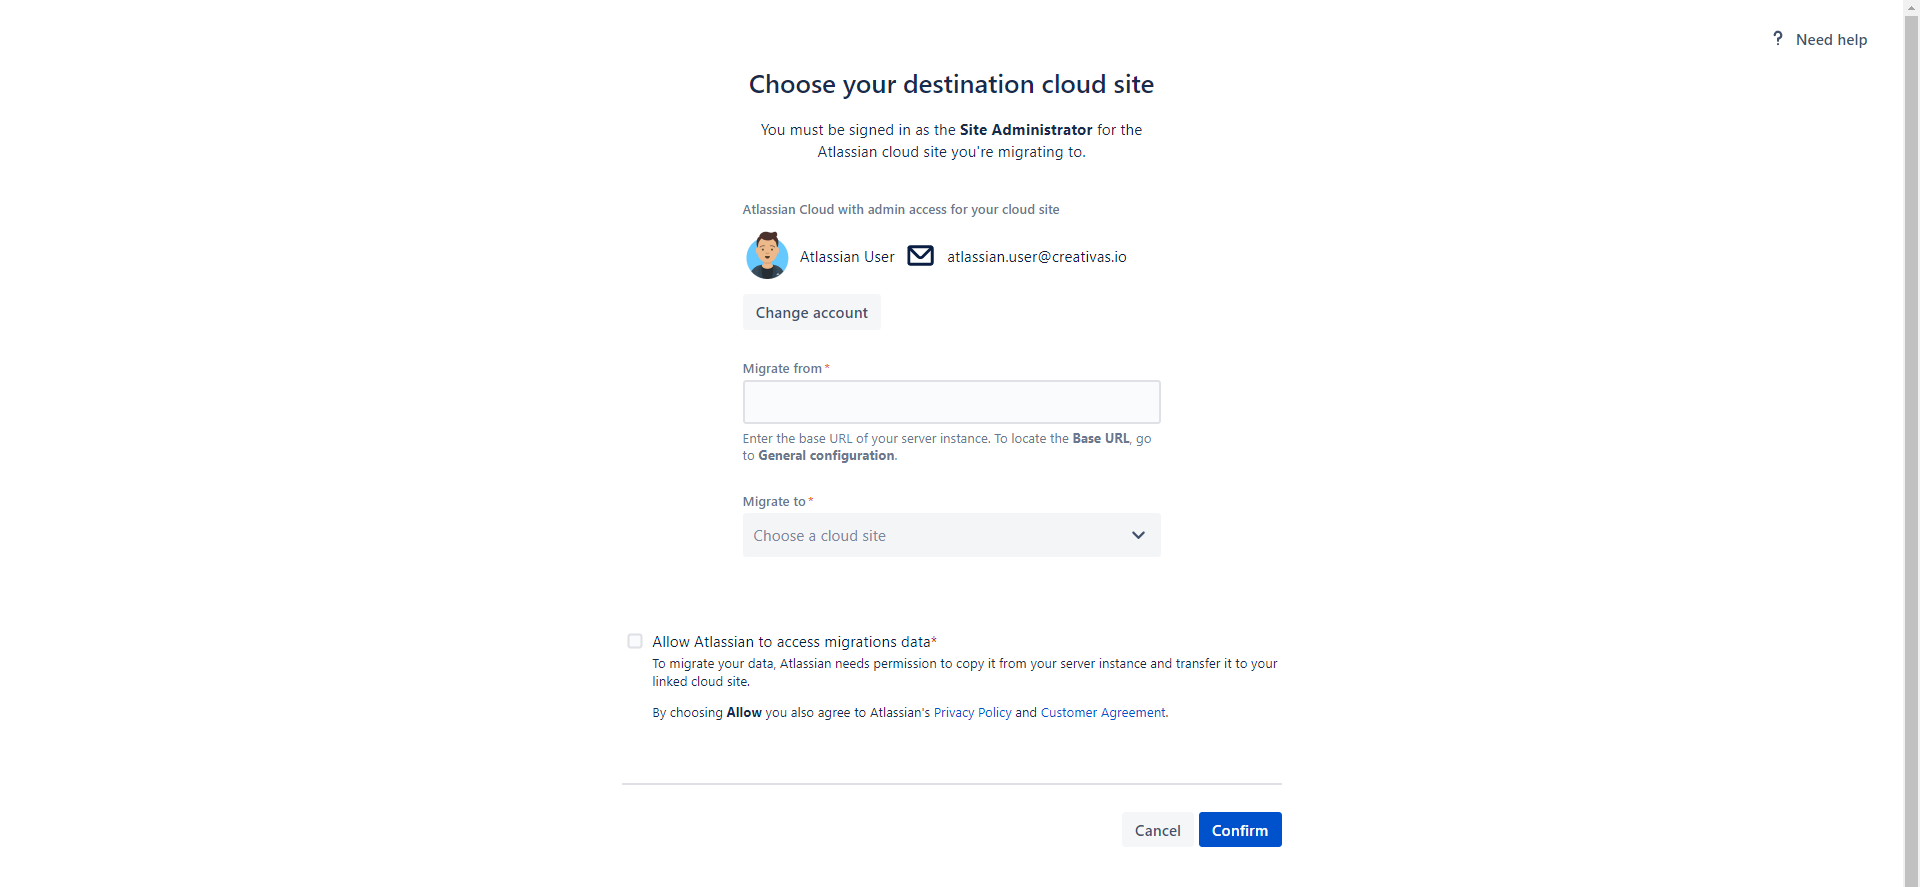
6. Enter the site to migrate from and select the cloud site which data will be migrated to.
7. Check Allow Atlassian to access migrations data.
8. Confirm.
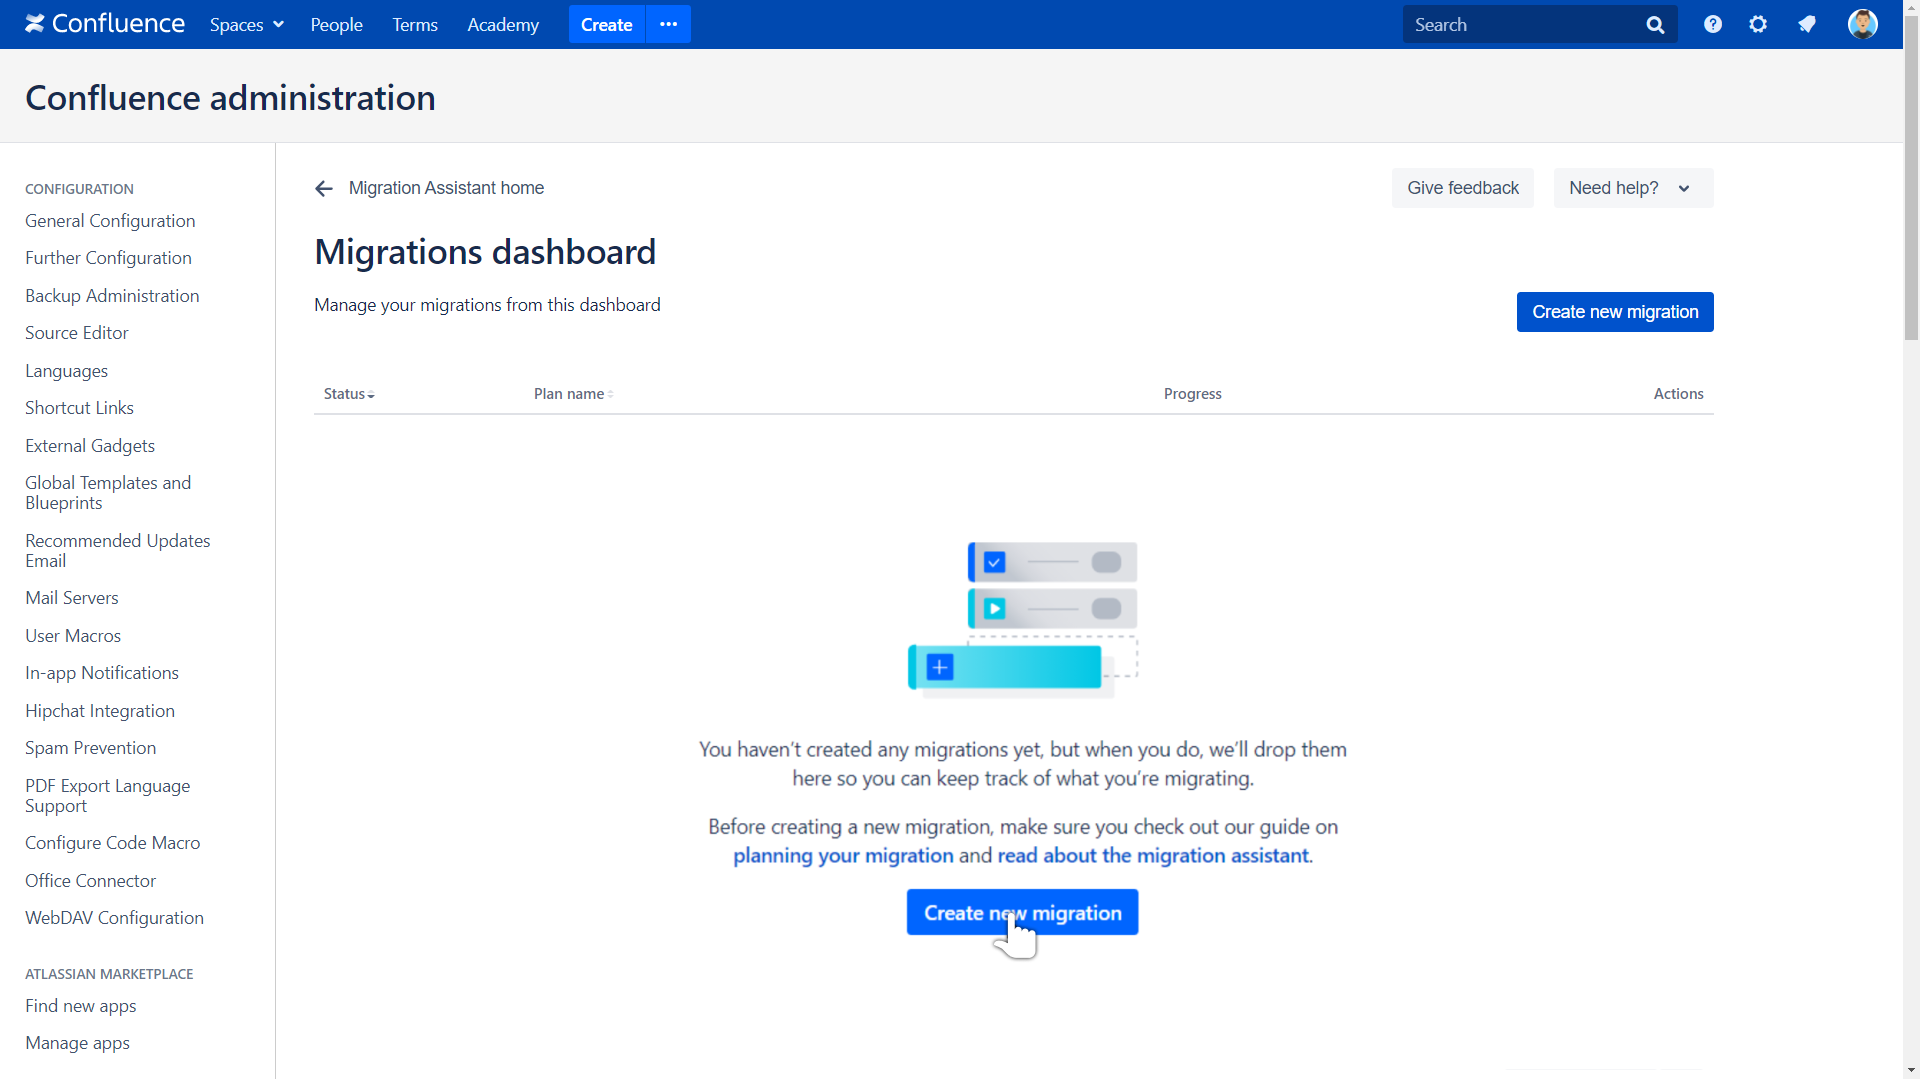
9. Return to the Migration Assistant section.
10. Select Manage Your Migration.
11. Click Create new migration.
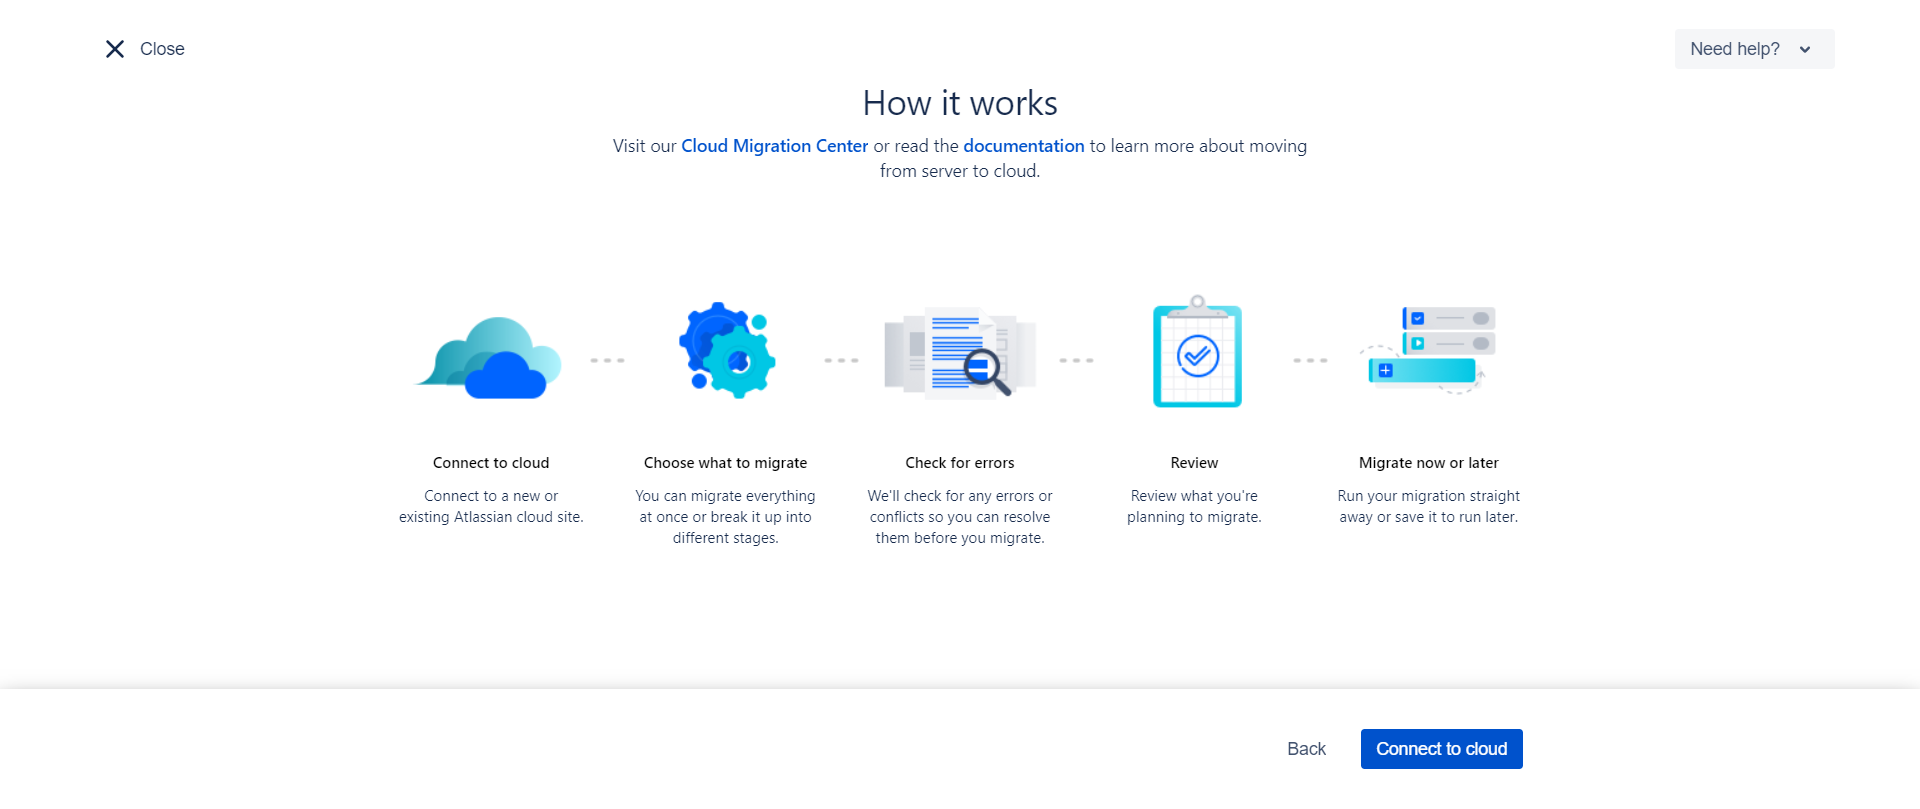
12. Click Connect to cloud.
13. Name the migration.
14. Click Choose cloud site.
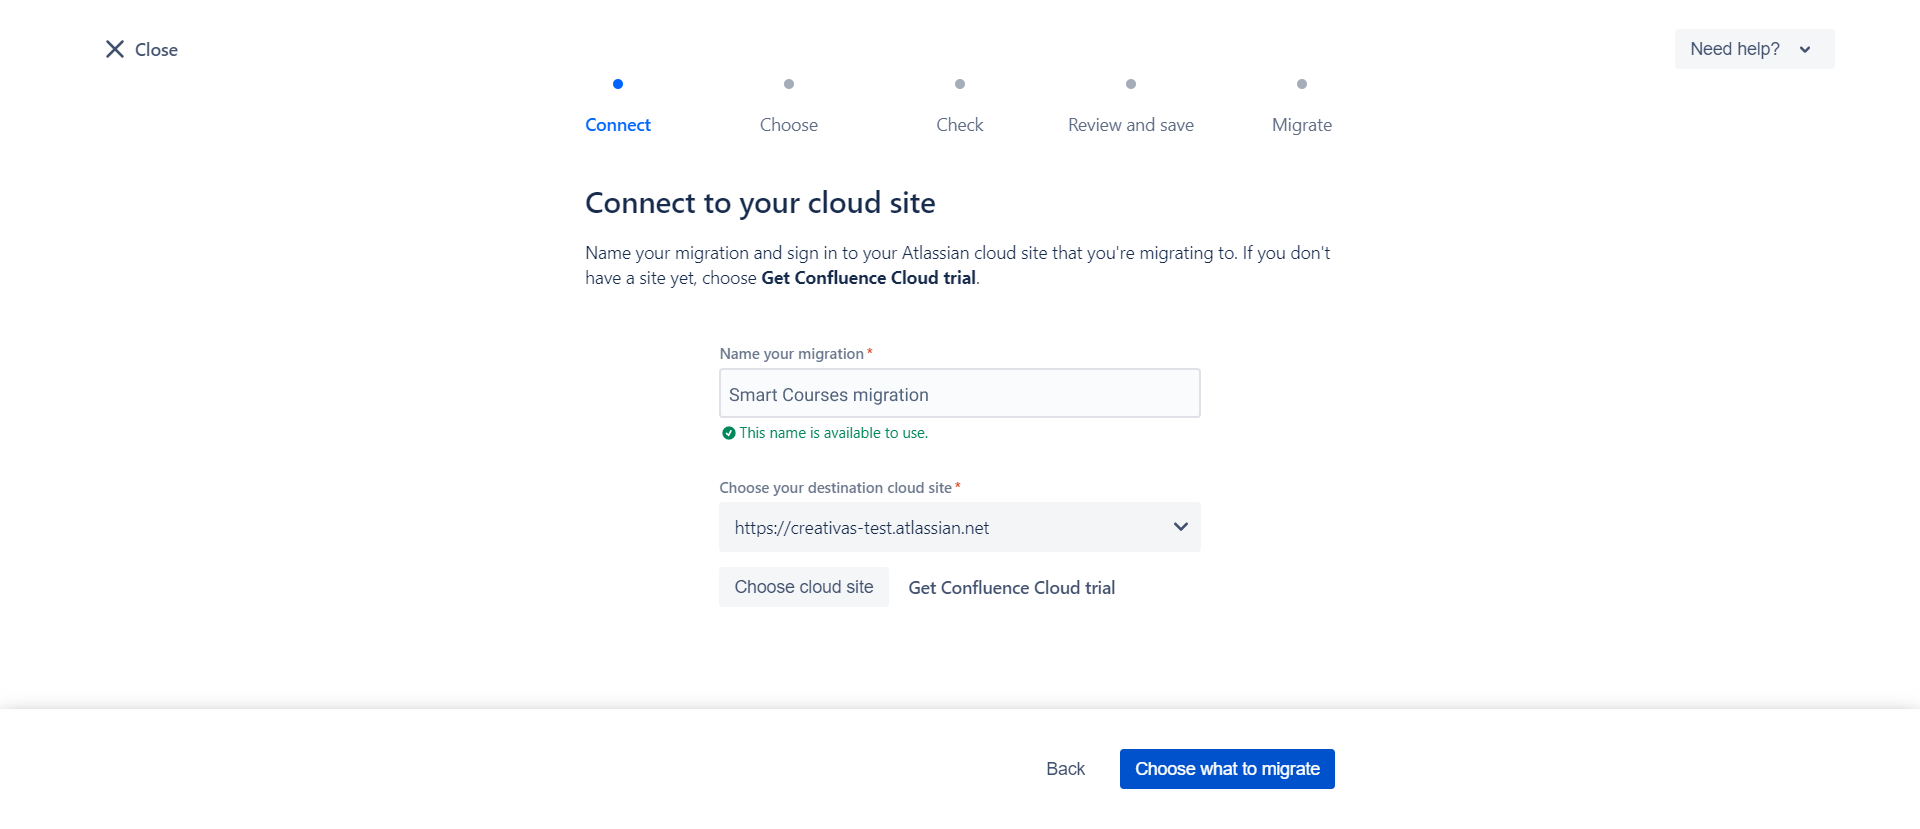
15. Enter the site to migrate from and select the cloud site which data will be migrated to.
16. Check
17. Confirm.
18. Click Choose what to migrate.
Make sure to select the option All users and groups. Select Click Next.
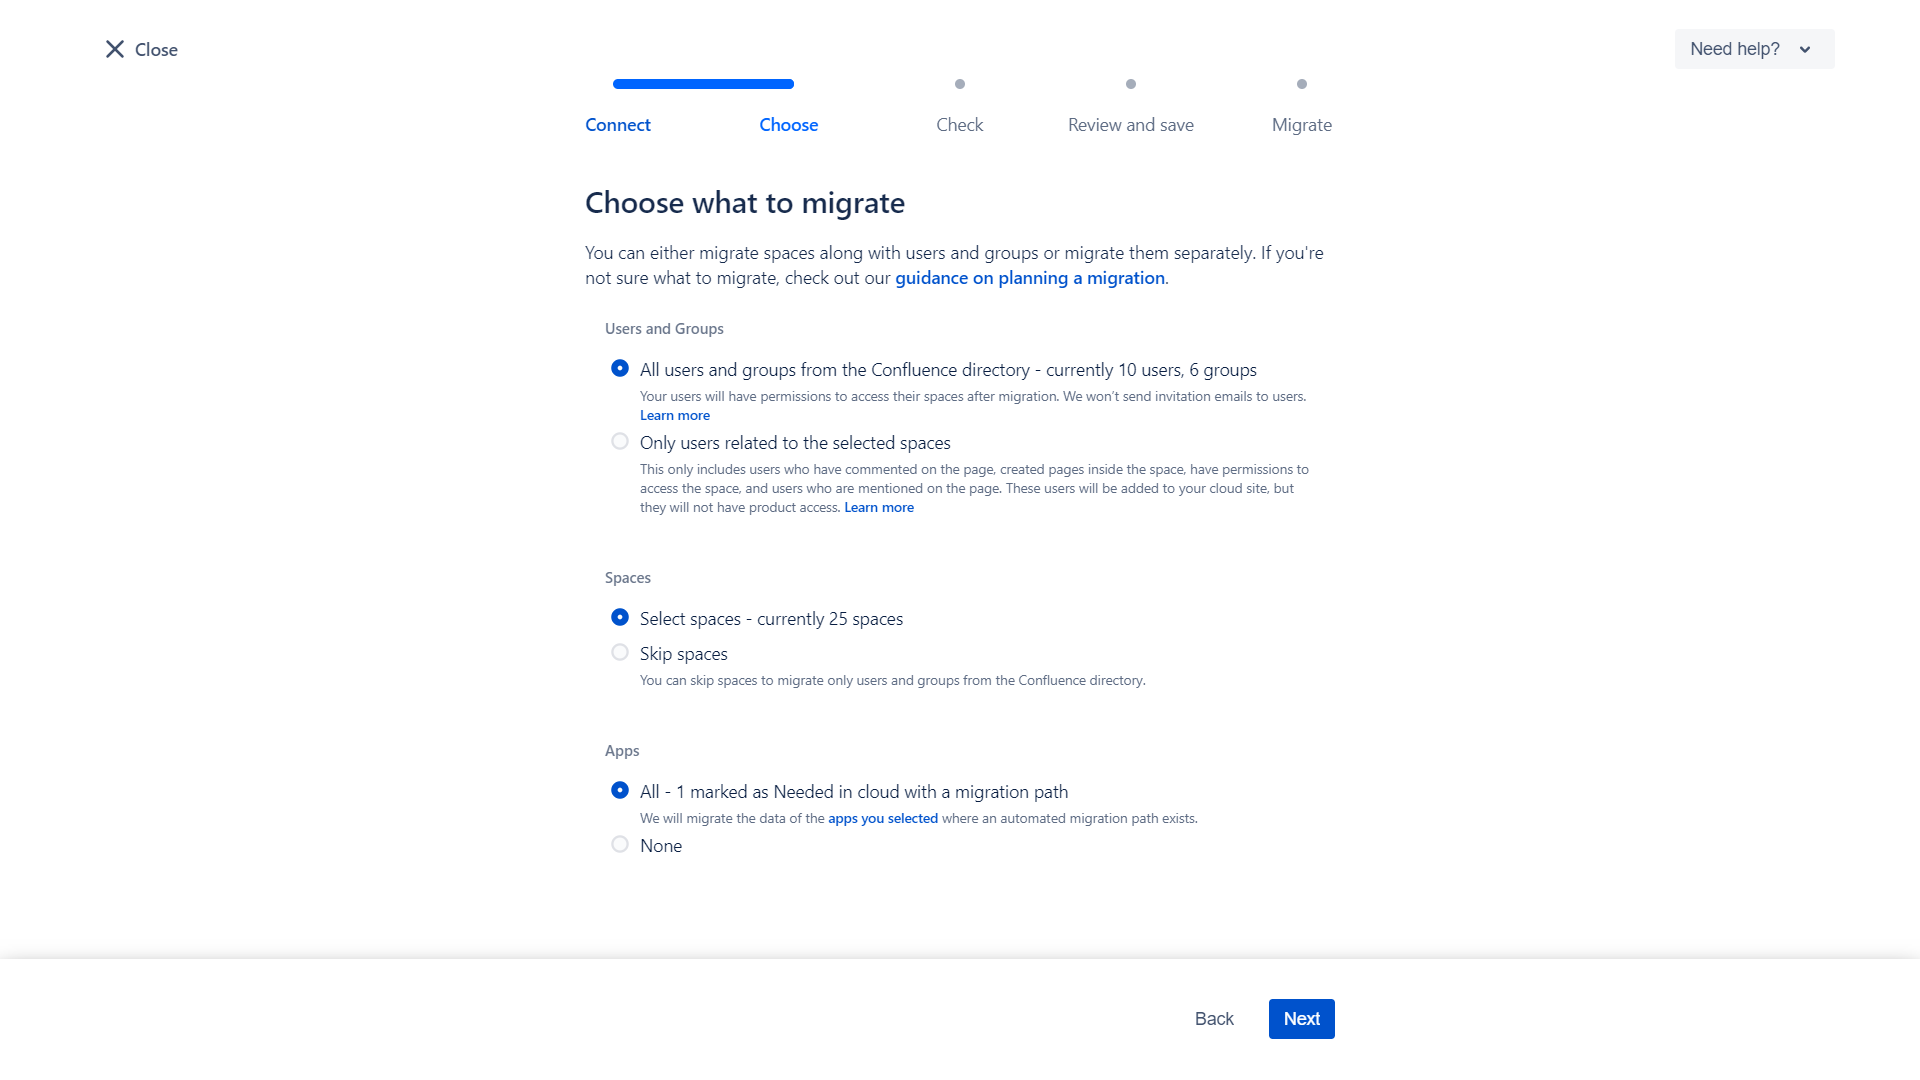
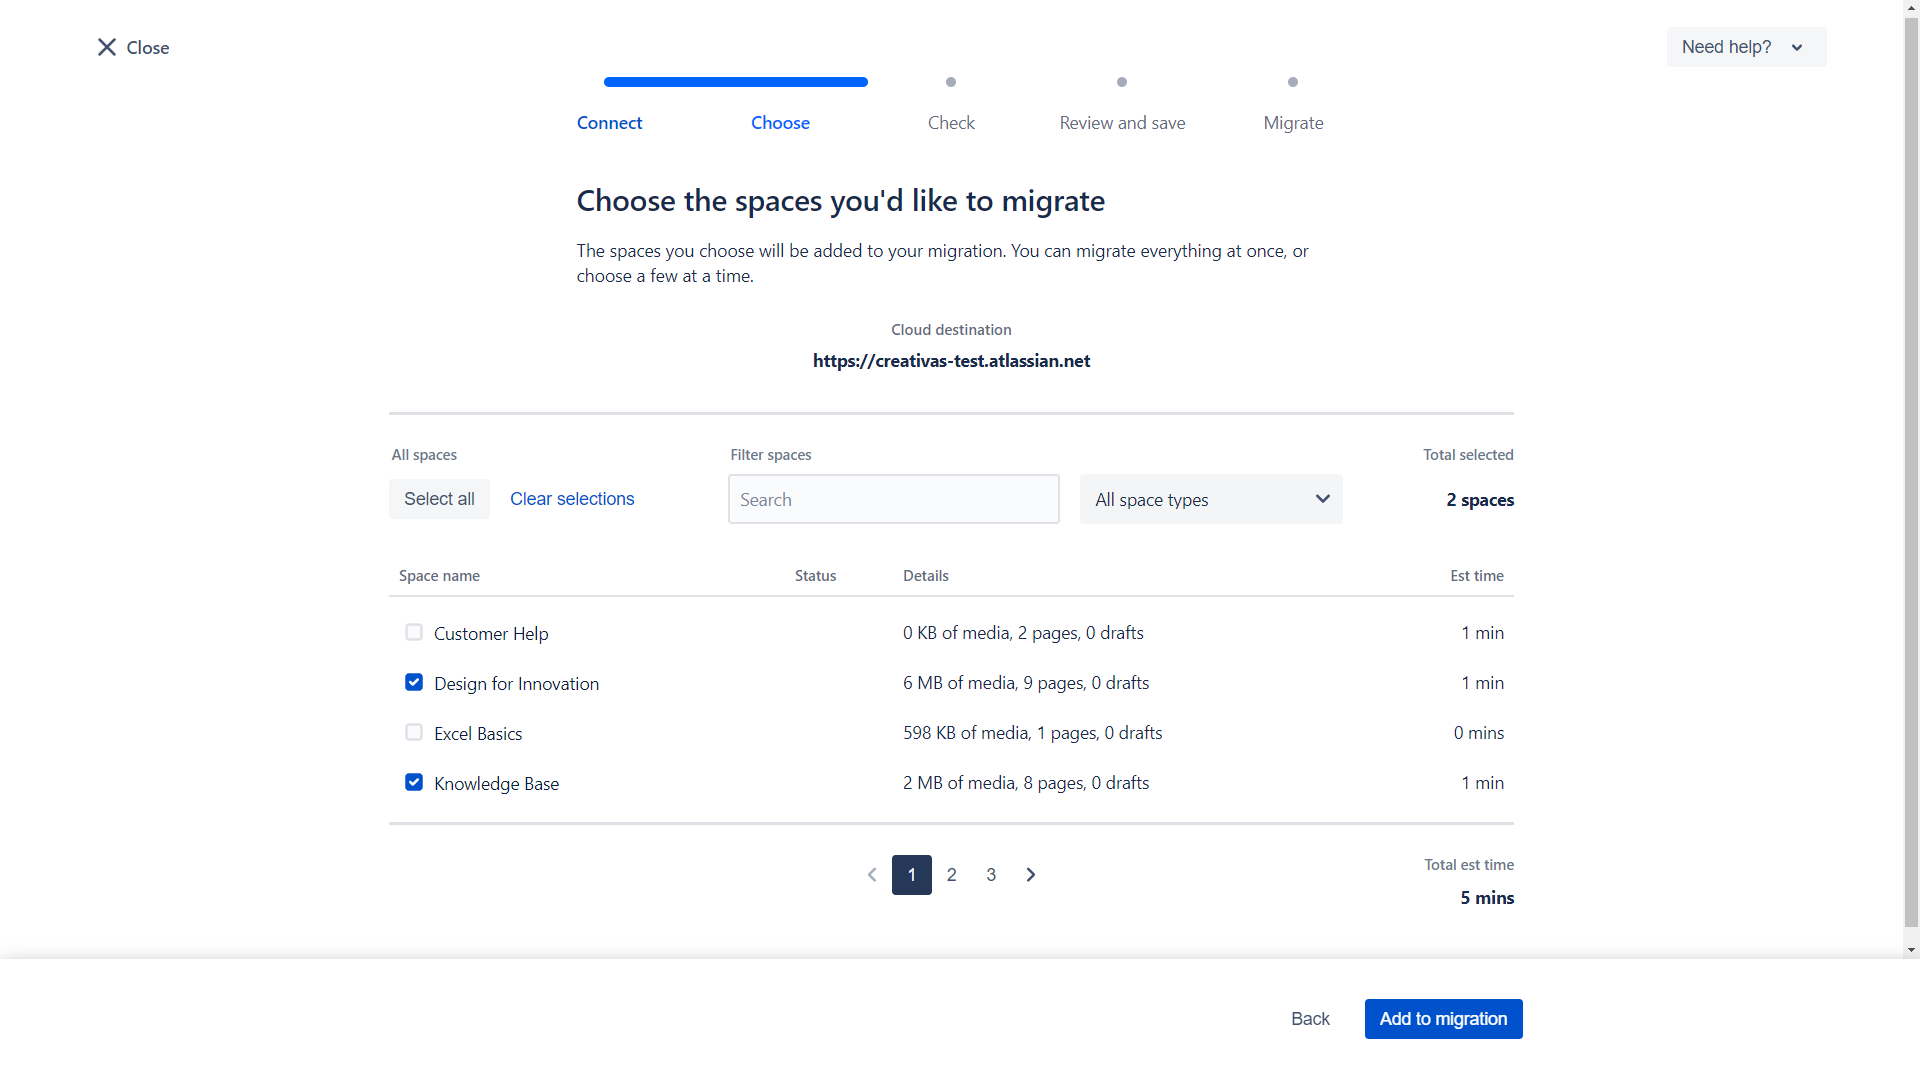
19. Select spaces you want to migrate.
20. Click Add to migration.
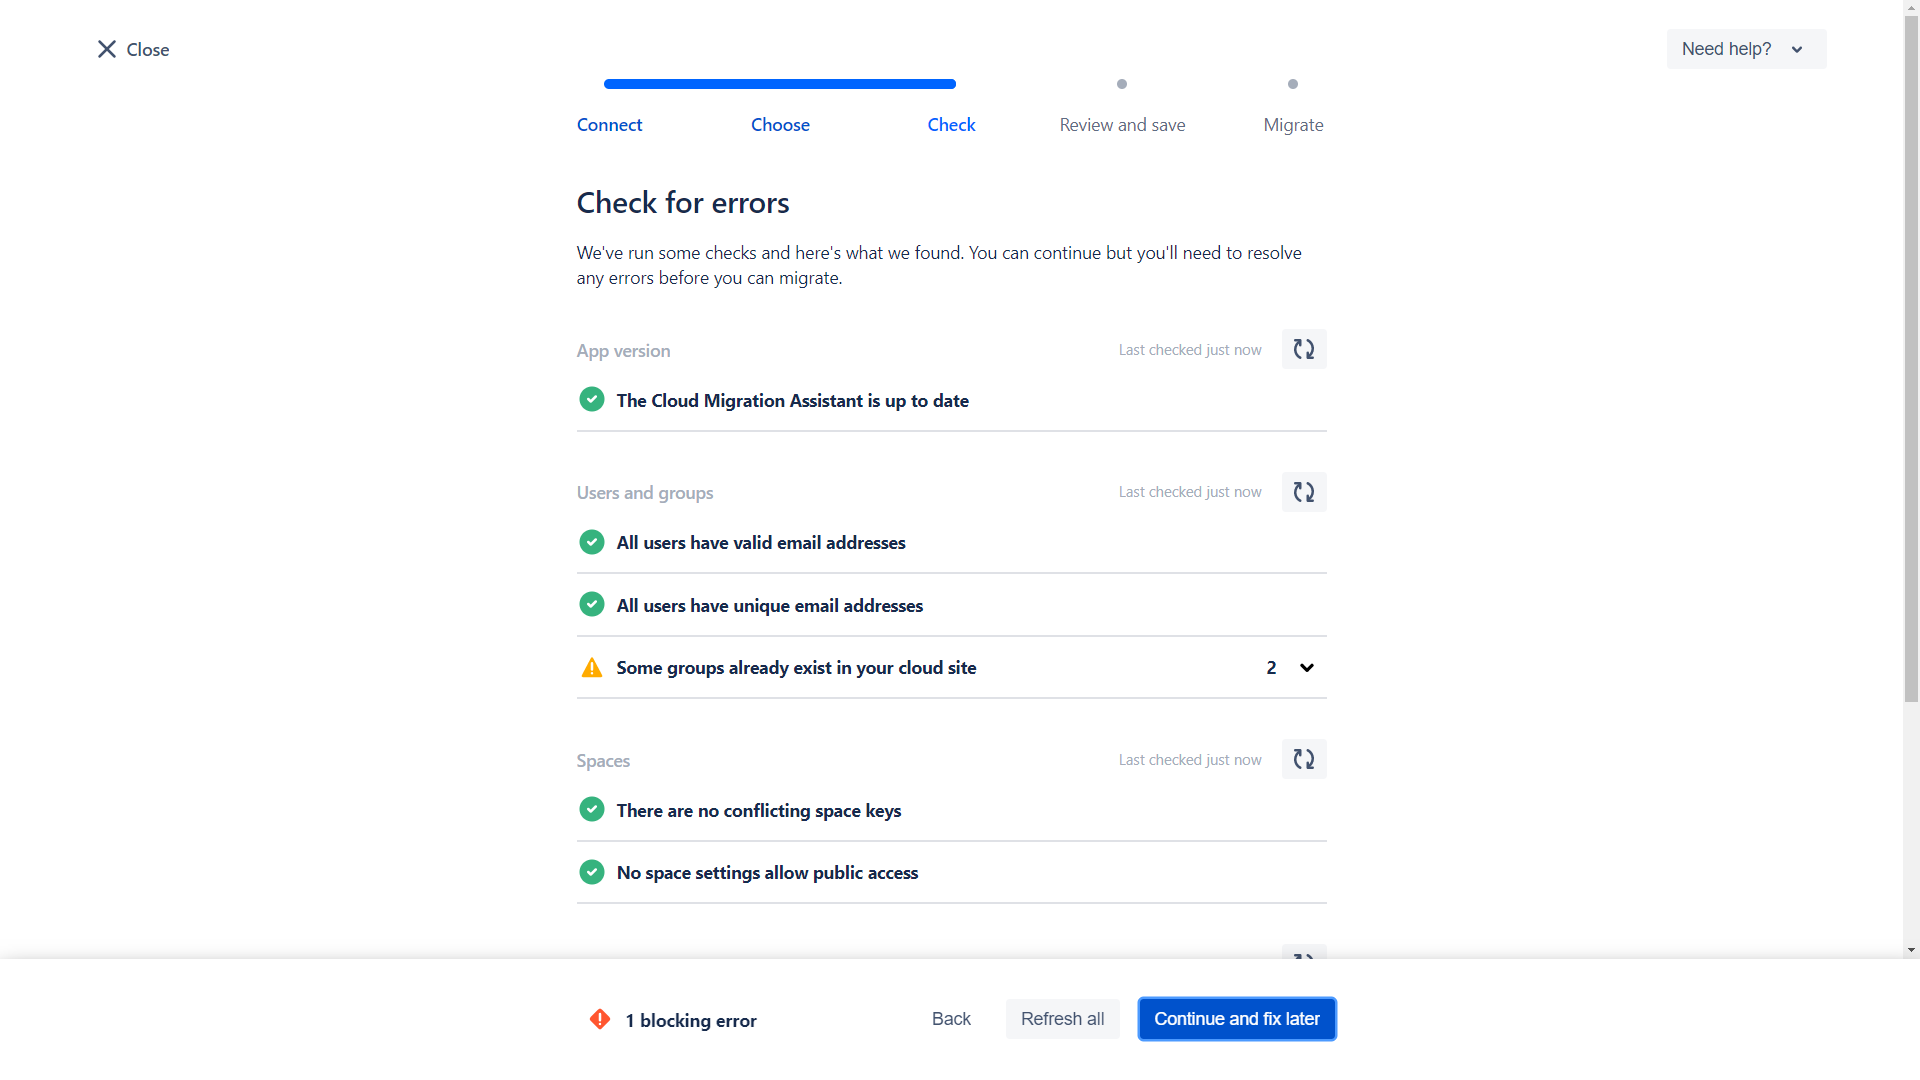
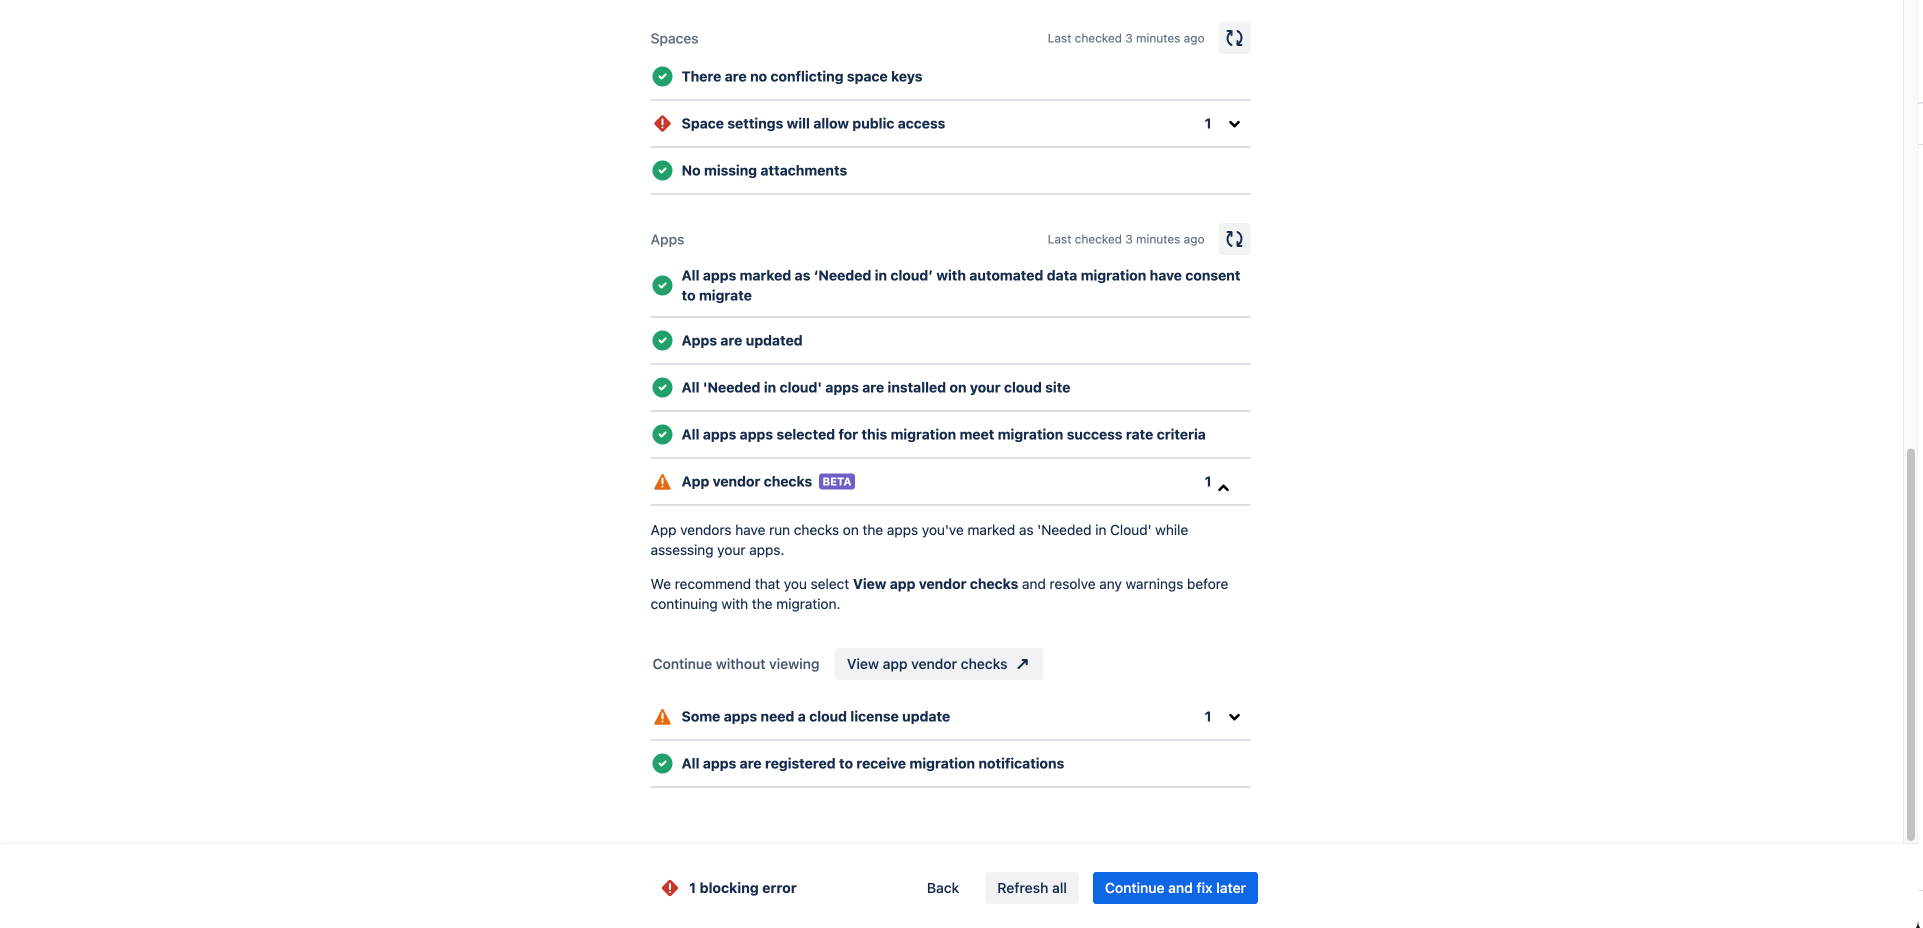
21. Check errors and warnings.
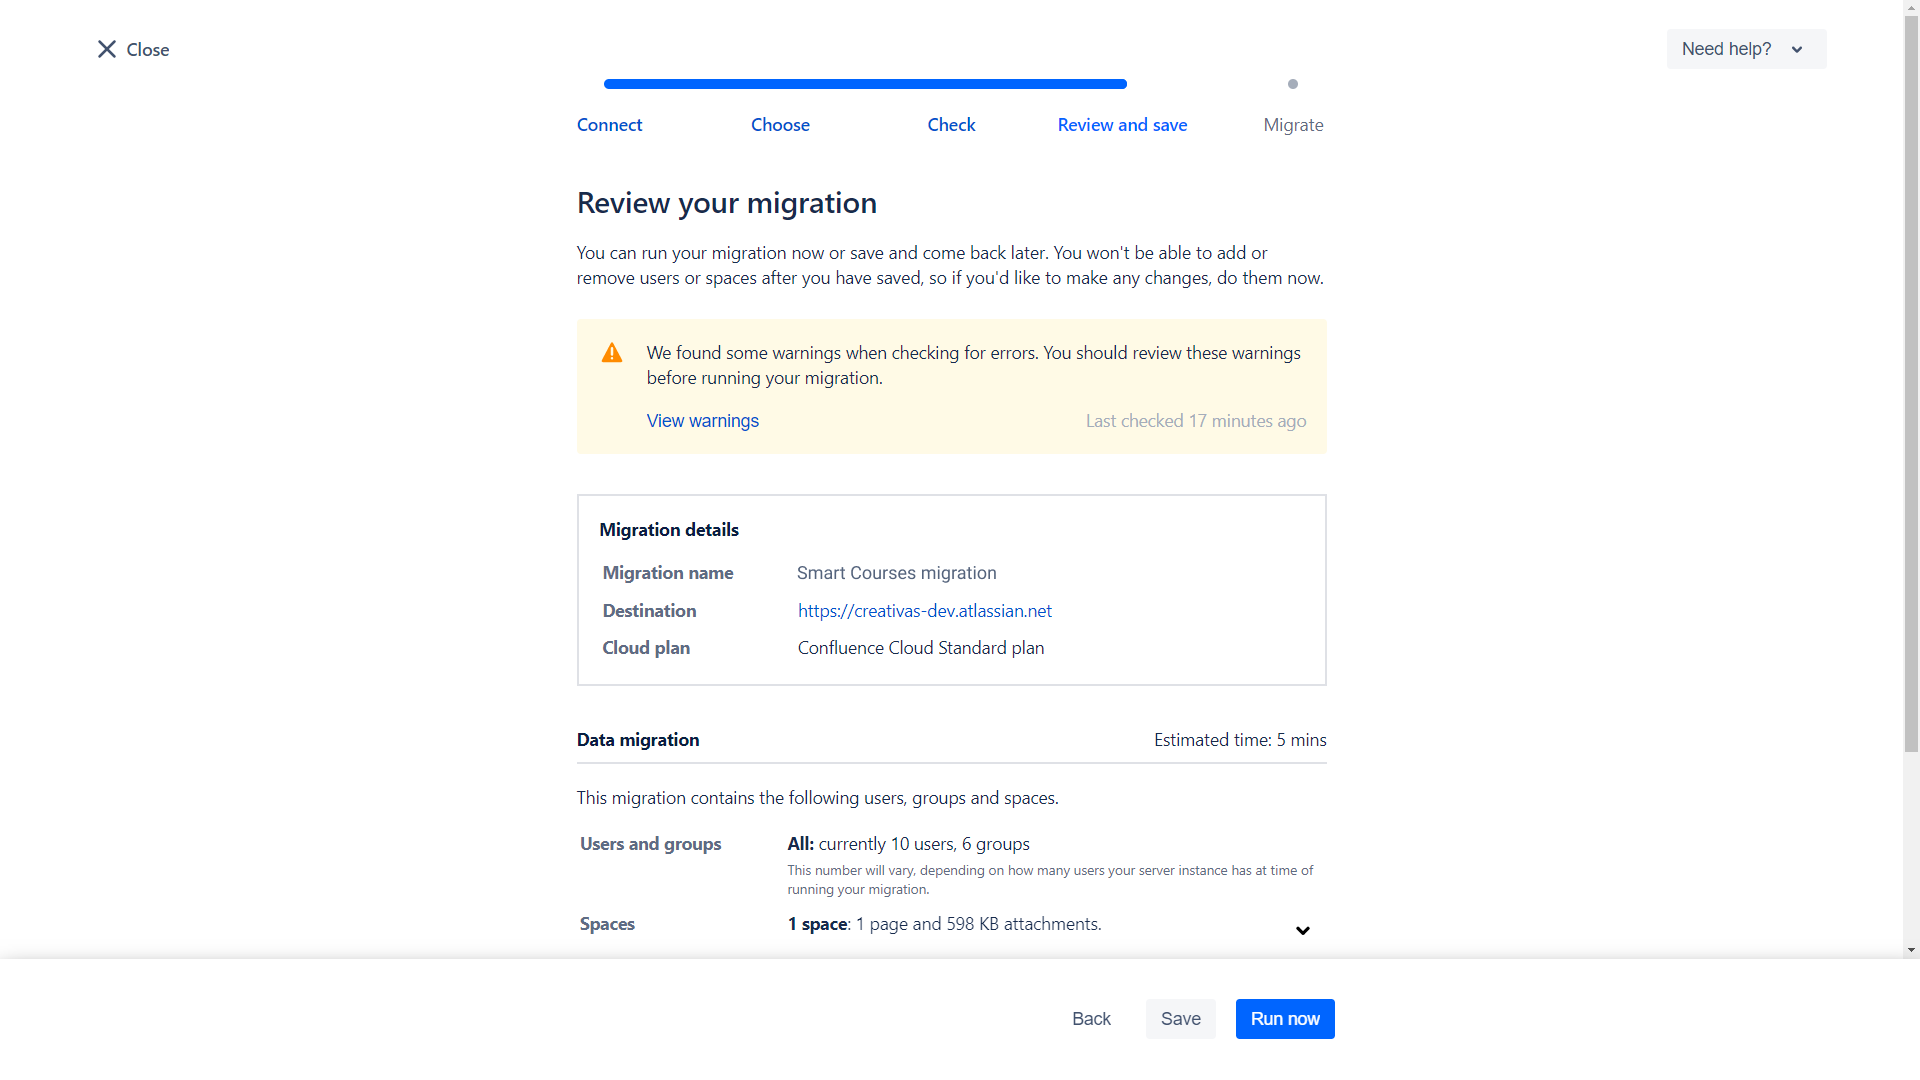
22. Click Review Migration.
23. Review the App vendor checks.
24. Download the App vendor checks reports to quickly identify the courses that might require changes before migrating to the Cloud.
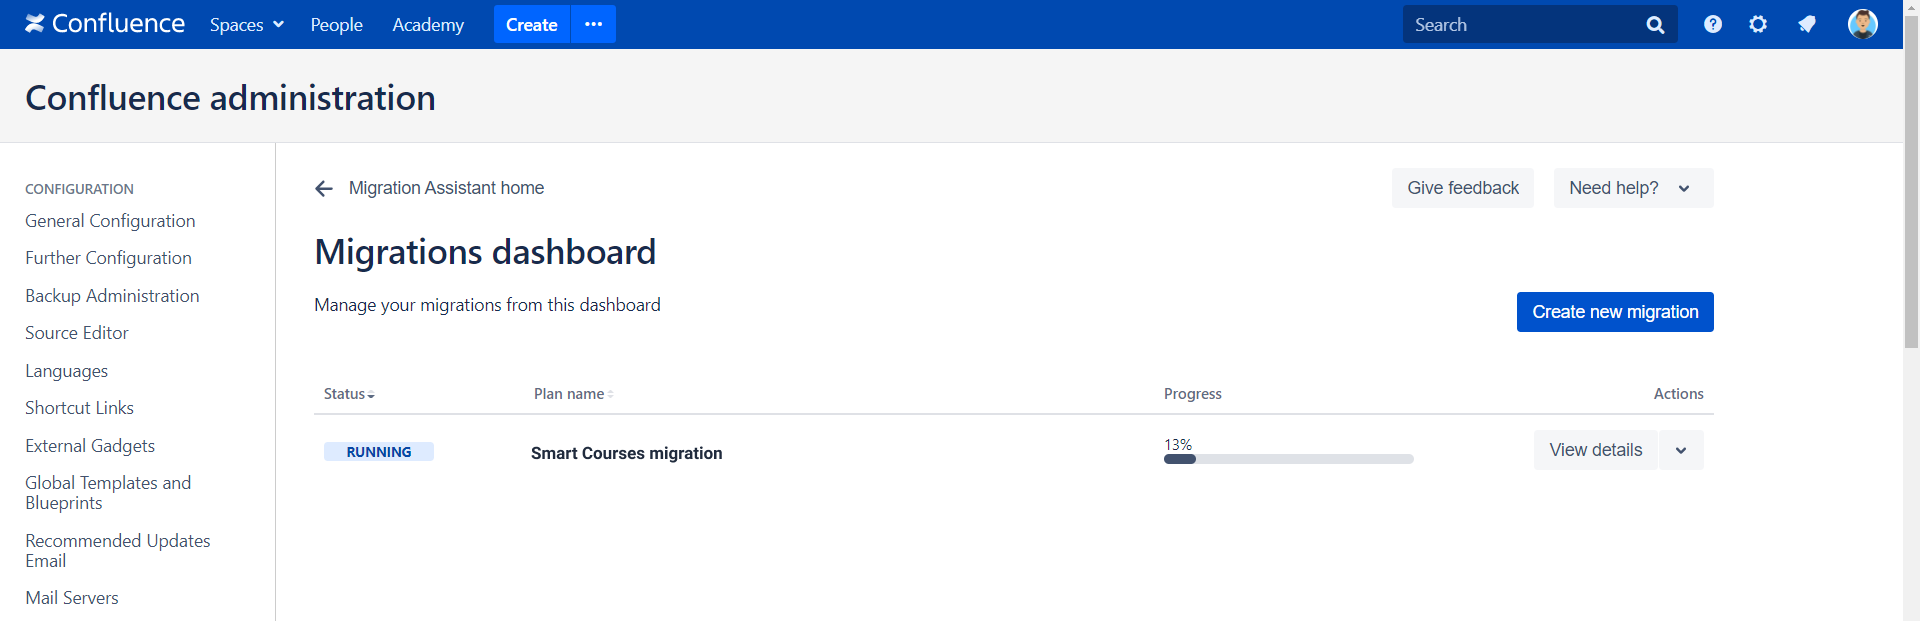
25. Click Run now.
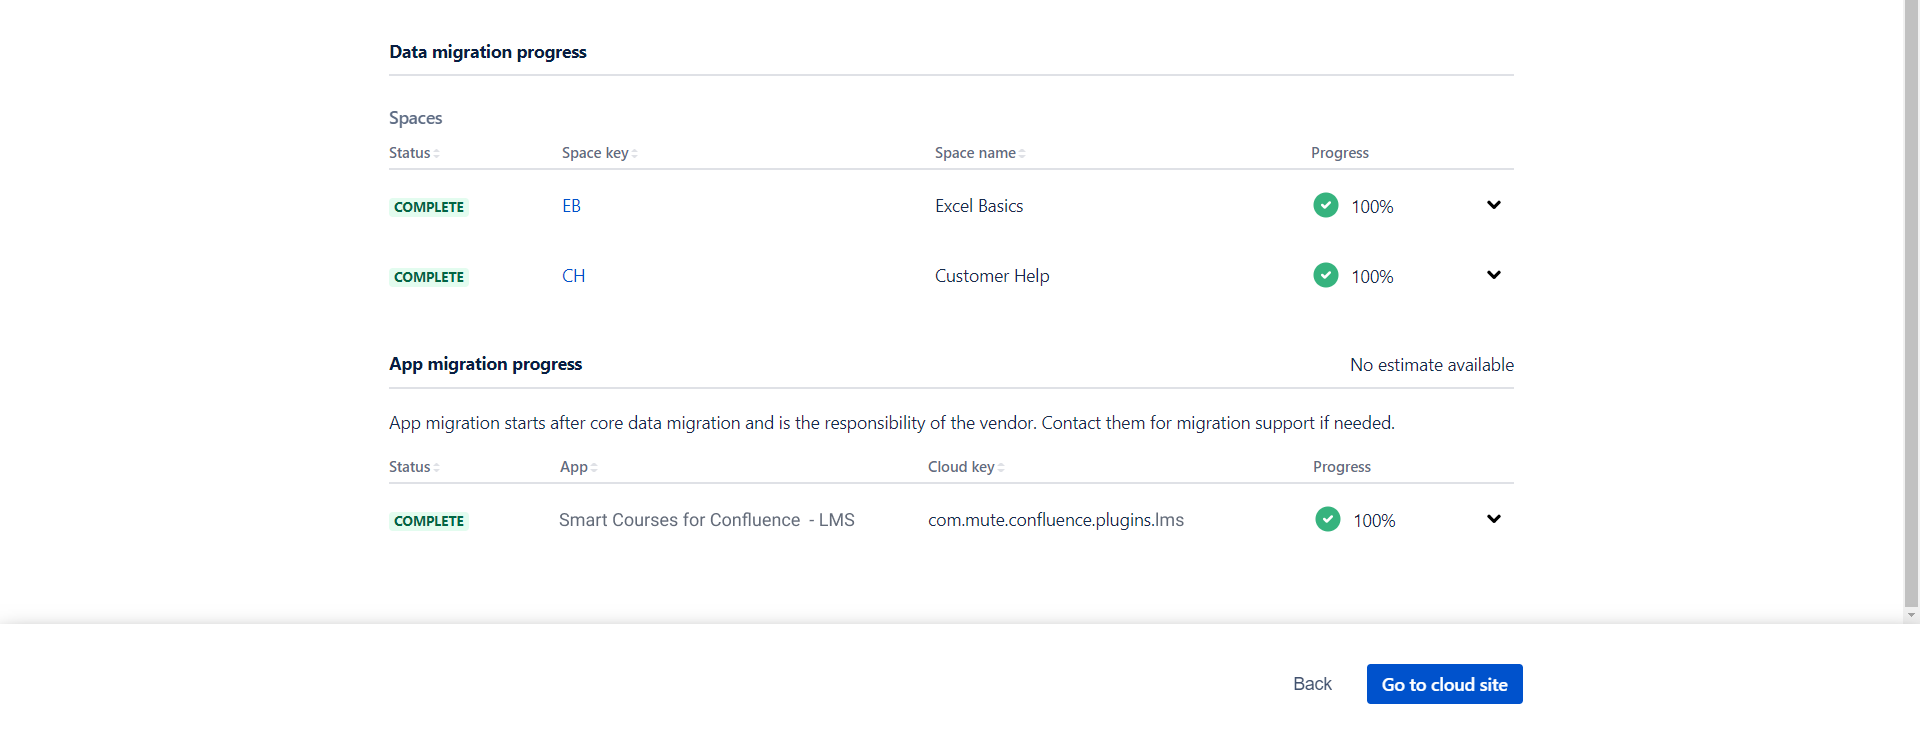
26. The migration starts. Click View details to monitor the progress.
27. Upon completion, you will see a screen similar to the following one.